AI Learning Centres:
- AI – Learn The Basics
- Get The Most From ChatGPT
- Branding in The Age of AI
- AI for Client Experience
- AI For Prospecting
- AI For Marketing
- AI For Listings & Ads
- Team Adoption of AI
- AI For PM
- AIO & Generative Search
- AI For Operations & Efficiency
- AI For Market Research & Analysis
- AI Ethics, Privacy & Compliance in Real Estate
Digital Marketing & Social Media Learning Centres:
Guides & Downloads
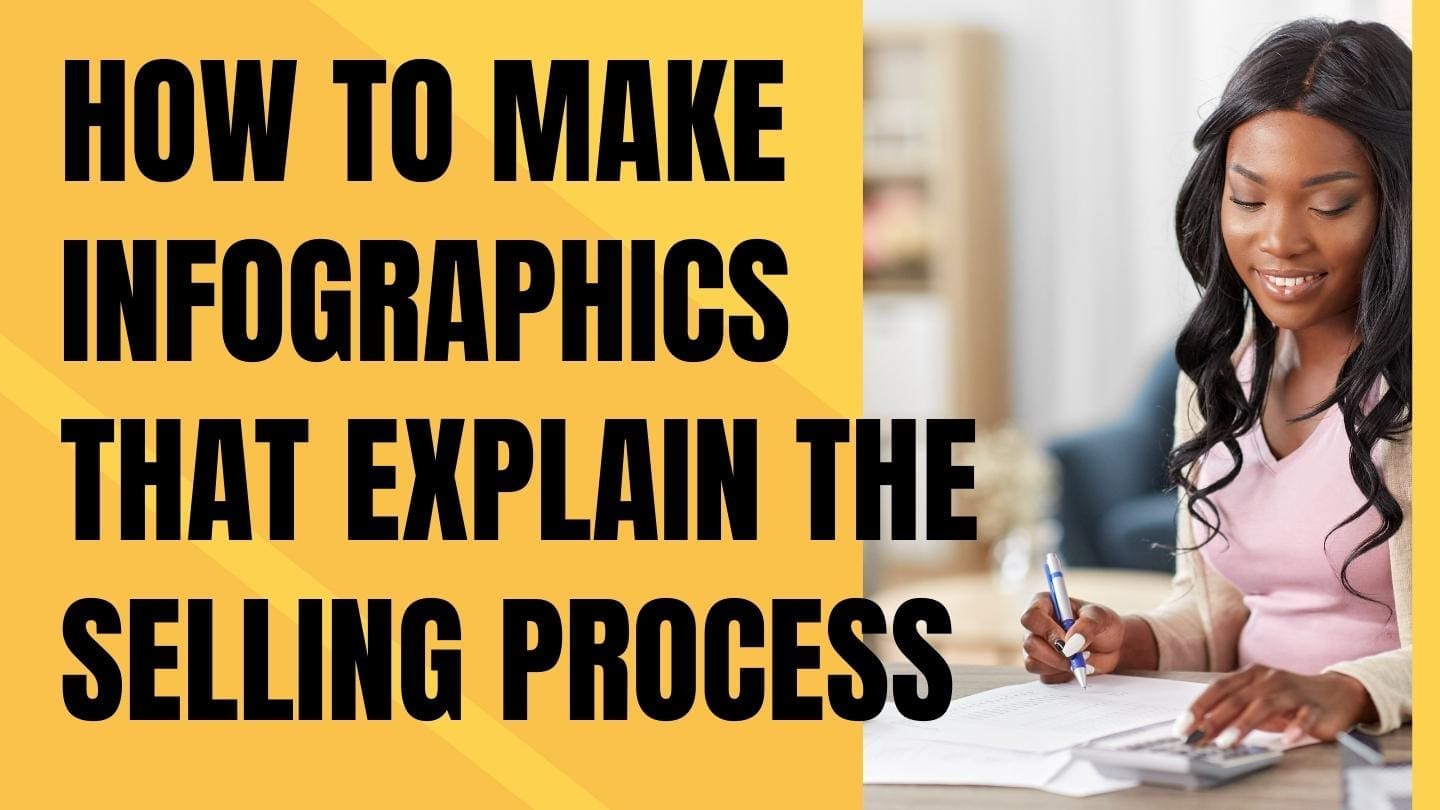
How to Make Infographics That Explain the Selling Process
A good infographic turns a complex journey into an easy picture. When sellers can see each step, they feel calm and trust you more. This guide shows you what to include, how to design it, and a simple Canva workflow you can follow today.
Why Infographics Work For Explaining The Selling Journey
• Visuals are faster to read than long paragraphs
• A clear map reduces fear and confusion for first time sellers
• Consistent graphics make your brand look professional
• Easy to reuse across listing presentations, emails, social posts and office walls
What To Include In A Clear Selling Process Infographic
Your infographic should show a start, a clear path, and a finish. Keep the steps short. Use simple words. Aim for 8 to 12 steps so it feels complete but not heavy.
Suggested core steps
Appraisal and goals
Agency agreement and timeline
Price strategy and method of sale
Property preparation and trades
Photography, floor plan and copy
Marketing launch and listing portals
Enquiry handling and buyer matching
Open homes and private inspections
Offers or bidding strategy
Negotiation and acceptance
Contract of sale and cooling off
Settlement and handover
Review and next steps
You can also create a second version that shows a separate path for auction. See the ready to use structures below.
Choose The Right Format And Size
Pick a size that matches where you will use it.
• Social square 1080 by 1080 for Instagram and Facebook
• Story or Reel 1080 by 1920 for vertical channels
• Website or email header 1200 by 628
• A4 portrait for print packs and listing kits
• Office wall poster A3 portrait
Use one master design in A4 or 1080 by 1920, then create resized copies for other channels.
Plan Your Storyboard Before You Design
Sketch the flow on paper first. Draw circles for steps and arrows for movement. Keep each step to one short sentence. Add a small icon idea for each step. Example icon list
• Appraisal magnifying glass
• Agreement handshake
• Pricing tag
• Preparation paint roller
• Photography camera
• Marketing megaphone
• Opens door
• Offers speech bubbles
• Contracts pen
• Settlement keys
• Review star
Write Simple Copy That Educates
Keep text short and helpful. Use action words. Aim for one line per step.
Examples
• Appraisal and goals. We confirm your aims and ideal move date.
• Agreement. We agree on the plan, fees and timeline.
• Price strategy. We set a smart range based on local data.
• Preparation. We arrange trades and styling to lift buyer appeal.
• Marketing. We launch across portals, socials and database.
• Enquiries. We respond fast and qualify buyers.
• Opens. We collect feedback and update you after each event.
• Offers. We present all offers and guide your choice.
• Contracts. Your solicitor prepares documents and handles checks.
• Settlement. You hand over the keys and celebrate your move.
Visual Style Guide For A Clean Look
• Use your brand colours. Keep it to one primary and one accent colour
• Pick one simple font for headings and one for body text
• Use white space to keep it calm and easy to scan
• Keep icons from one family so they match
• Use short arrows or lines to show movement
• Add your logo, phone, email, and office suburb at the end
• Make sure text is large enough to read on a phone screen
Step By Step Canva Workflow
Follow this step by step process inside Canva. No design skills needed.
Open Canva. Click Create a design. Choose A4 document or Instagram Story 1080 by 1920.
Set up Brand Kit. In the left panel, open Brand, add your logo, brand colours and fonts. This saves time later.
Choose a layout. In Templates, search for process infographic, timeline, roadmap or journey. Pick a clean template with 8 to 12 steps.
Apply brand colours. Click Styles in the left panel and apply your Brand Kit. Fine tune colours so headings use your primary colour and icons use the accent colour.
Build your grid. Turn on rulers and guides from File. Drag guides to create even margins and equal spacing between steps.
Replace headings. Click each step title and paste your short copy. Keep each step to one line.
Swap icons. Click Elements and search for each icon name. Choose a single icon style like line or filled. Replace each placeholder icon.
Set arrow flow. In Elements search arrows. Use the same arrow style across the whole design. Keep arrow size and line weight consistent.
Add numbers. Insert small number circles for each step. Use a consistent size. Place numbers at the top left of each step.
Add micro copy. Under each step title, add one short sentence that says what you do and what the seller does. Example You We lines work well.
Add trust boosters. Place a tick list on the side. Items can include weekly vendor reports, buyer database, local trades network and compliance checks.
Insert a call to action. At the bottom, add a simple box with Book your strategy meeting and your phone and email.
Add your logo. Place it near the call to action. Keep it clear of other elements.
Check spacing. Select all steps and use Position and Tidy up so spacing is equal.
Check contrast. Use the Accessibility checker to make sure text has enough contrast. Dark text on light background reads best.
Create versions. Click Resize and create copies for Instagram square, Story, and A4. Tweak layout for each size so nothing is cramped.
Export for print. Click Share then Download. Choose PDF Print for A4. Tick crop marks if you plan to trim.
Export for web. For social sizes choose PNG at 1080 width. Tick Transparent background only if your design supports it.
Save a template. Click File then Save as template. Name it Selling Process Master so your team can reuse it.
Test on mobile. Send the PNG to your phone and check legibility. If text is too small, increase font size and re export.
Two Ready To Use Structures
Use these as your content blueprint inside Canva. Copy the wording and adjust to your voice.
Private Treaty Path
Appraisal and goals
You and your agent set targets and timingAgreement and plan
Paperwork, fees and full timeline confirmedPrice strategy
Evidence based guide price and positioningPreparation
Trades, styling and safety checks arrangedPhotography and copy
Professional media and clear listing textMarketing launch
Portals, socials, signboard and database alertsBuyer enquiries
Rapid response and buyer matching from CRMOpen homes and reports
Feedback delivered after each inspectionOffers received
All offers presented with facts and contextNegotiation
Your agent protects price and termsContract of sale
Your solicitor and the buyer’s solicitor alignCooling off and checks
Finance, building and pest, strata or title checksSettlement and handover
Final inspection, keys and moving supportReview
We debrief and plan your next step
Auction Path
Appraisal and goals
Agreement and auction date
Auction campaign calendar
Preparation and compliance checks
Photography and copy
High impact marketing
Opens and mid campaign review
Reserve setting and bidder registration
Auction day strategy and execution
Post auction negotiation if required
Contract exchange
Settlement and handover
Review
Where To Use Your Infographic
• Listing presentation slide and printed A4 handout
• Pre listing email pack sent before your first meeting
• Website page called How we sell your home
• Vendor reports as a progress tracker with the current step highlighted
• Social posts at the start of each new campaign
• Office wall poster for walk in visitors
• Open home display in a clear stand near the sign in area
How To Measure Success And Improve
• Meeting close rate. Track how many appraisals turn into signed agreements after you start using the infographic
• Time to list. Measure days from appraisal to going live. Clear steps often shorten this time
• Vendor questions. Count common questions before and after. Fewer repeats show better education
• Campaign outcomes. Compare offers, days on market, and price outcomes over six months
• Engagement. Check website page views and average time on page for your Selling Process page
• A B test. Try two titles on social posts. Example Your clear selling path versus How we sell your home
Compliance And Quality Checks
• Never suggest a price that could breach underquoting laws in your state
• Keep statements factual and avoid promises that cannot be guaranteed
• Include a small line that says Timelines and steps may vary by property type and state rules
• Confirm that vendor privacy and data handling fit your office policy and the Privacy Act
• Ask your solicitor to review the contract step wording if you are unsure
Pro Tips For Teams And Offices
• Build one master version and one auction version in your Brand Kit
• Create a campaign tracker. Duplicate the infographic and highlight the current step in a bright accent colour for vendor updates
• Add QR codes. Link to a page with deeper detail on each step and a calendar link for booking meetings
• Translate key steps if your area has strong language groups. Keep the same icons and layout
• Train the team. Run a short role play where each person explains the steps in two minutes
• Refresh yearly. Review icons, copy and steps each year to match new laws or tech in your office
Quick Troubleshooting
• Looks crowded. Reduce to nine steps and move extra detail to your website
• Hard to read on mobile. Increase heading size and reduce text to one line per step
• Icons feel messy. Replace with one consistent icon set from Canva Elements
• Colours clash. Use one primary, one accent, and plenty of white space
• Arrows confuse the flow. Use straight lines and place steps in a clear top to bottom or left to right path
Your Next Actions
Pick one format to start. A4 or Instagram Story works best
Write your nine to twelve steps using the examples above
Follow the Canva workflow and build your first version in under one hour
Test it in your next listing meeting and note seller questions
Improve the wording and spacing, then save as your office template
Use your infographic at every touchpoint. When sellers can see the path, they walk it with confidence. Your clear process becomes part of your brand and lifts trust, speed and results.
Author Ken Hobson ken@agentslibrary.com.au

Industry Tech & Ai Newsletter